Email Filtering#
Overview#
The administration module, PostMaster Filters allows administrators to automate email processing by defining rules for incoming messages. This helps in organizing tickets, filtering unnecessary emails, and setting other various details on tickets as required.
Accessing PostMaster Filter Management#
Admin Module PostMaster Filters#
Log in to Znuny.
Click on “Admin” in the top navigation menu.
Navigate to PostMaster Filters.
Filter Overview#
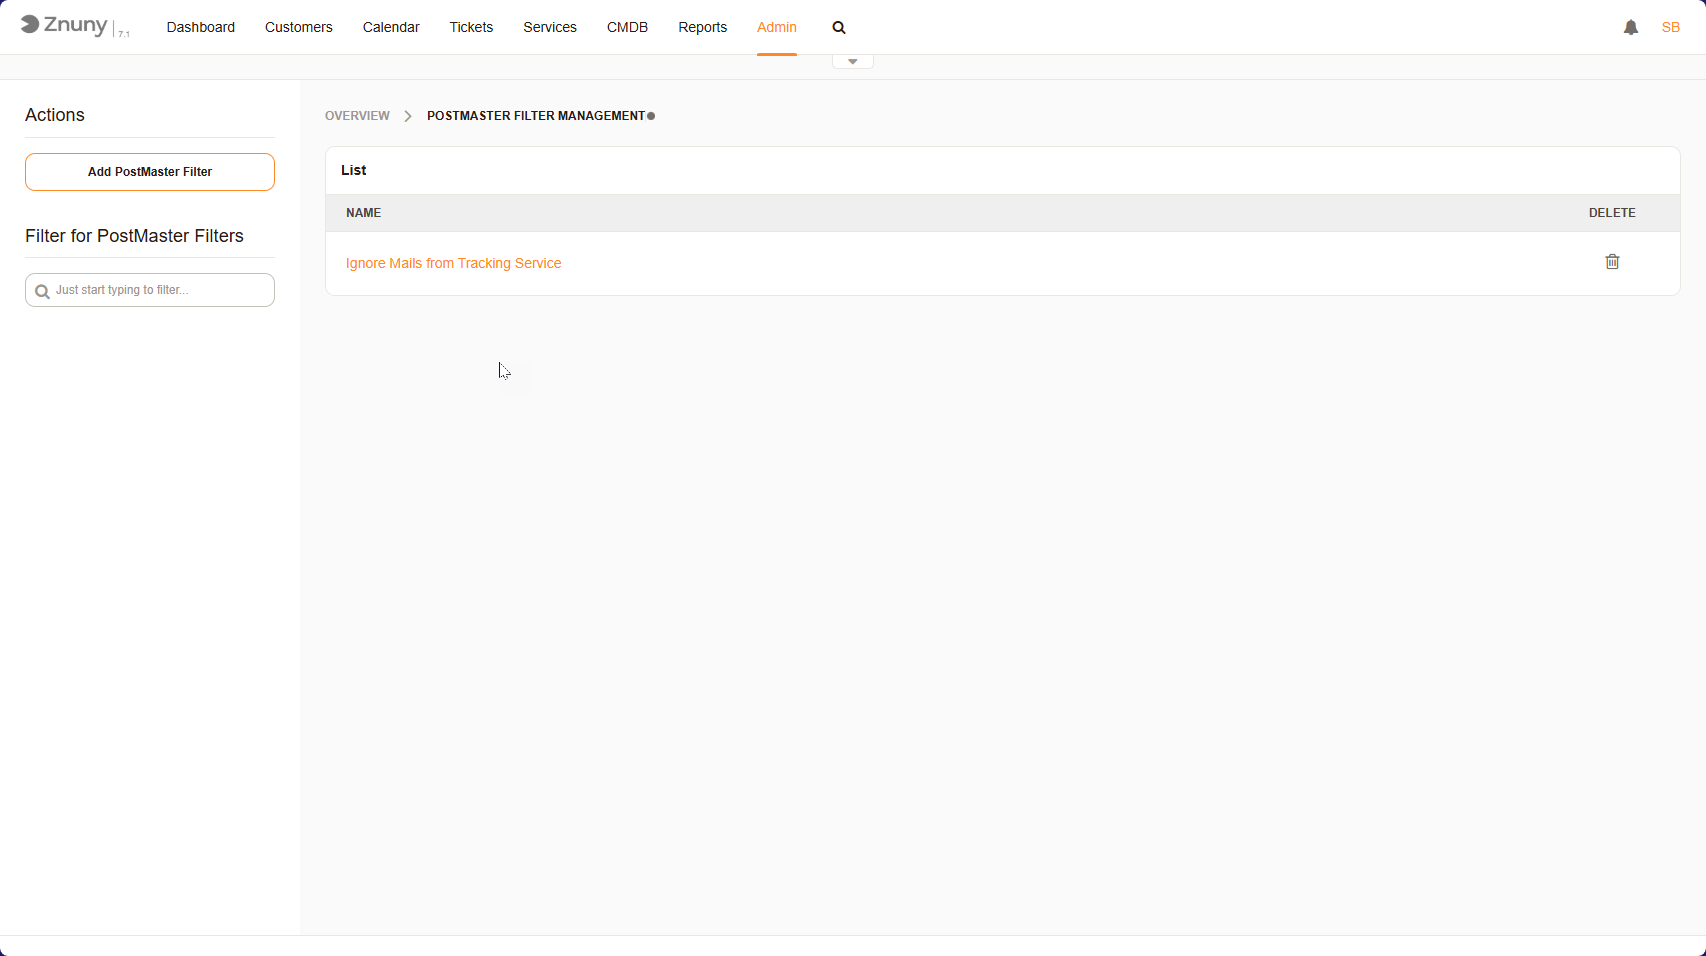
The PostMaster Filter management interface consists of:
Left Panel: Contains options to add new filters and a search bar to filter existing ones. Additionally you can export and import individual postmaster filters, or entire sets.
Main Table: Displays a list of existing filters with details such as Name, Search Header Field, Value, Set Email Header, and Value.
Action Icons: Options to copy, export, edit or delete filters.
PostMaster Filter Overview#
Adding a New PostMaster Filter#
Click the “Add PostMaster Filter” button in the left panel.
Configure the filter settings:
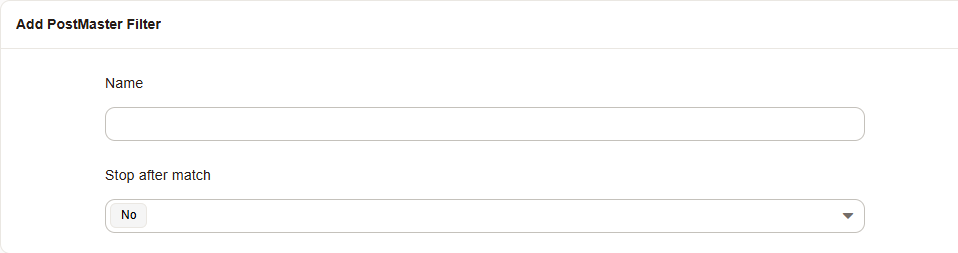
General Settings#
- Name
Name of the filter
- Stop after match
Set this to ensure no other filter matches.
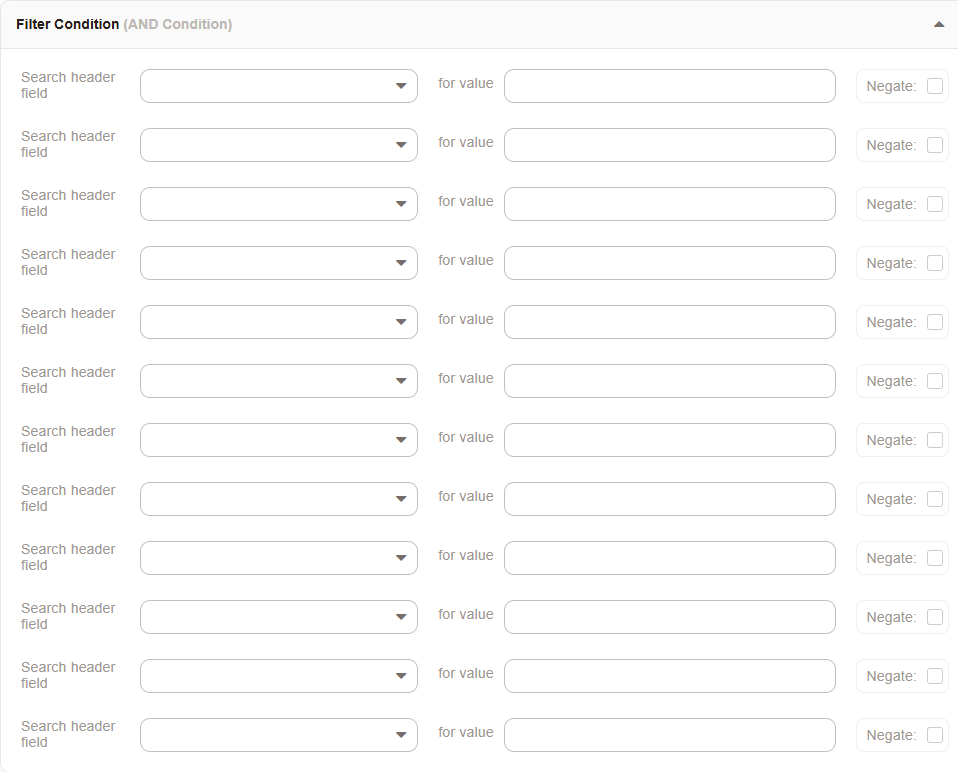
Filter Settings#
- Search header field
Select the header to evaluate.
- Value
A regular expression value to match
- Negate
Select the checkbox to negate the filter.
Note
All headers are AND connected, and with the exception of the Body Header, should only be used once.
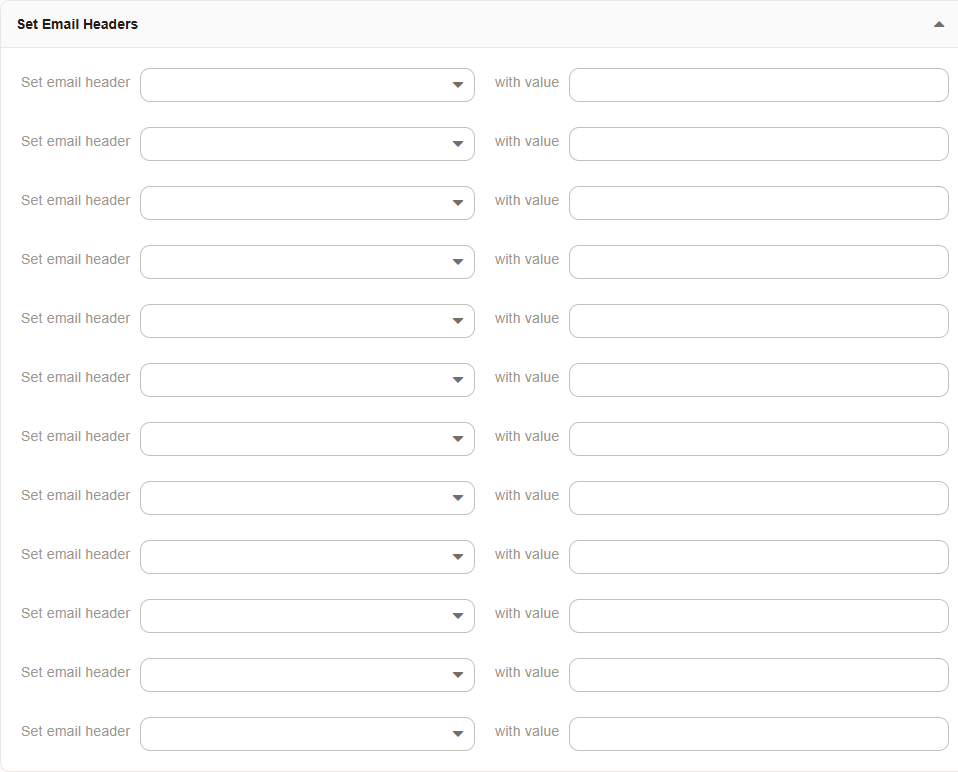
Header Settings#
- Set email header
The header which should be set.
- Value
The value for the header.
Note
Value can be the value of a named or single matching group, or any text value.
Click “Save” to apply the filter.
Additional Value Handling#
- Capture an email address
If you want to match only the email address, use EMAILADDRESS:info@example.com in From, To or Cc.
- Value Matching
You can use the matching group value i. e.
(term)as the Set email header value by adding this[***].- Named Groups
You can also use named captures (?<name>) and use the names as the Value of any field. like this:
[**\name**]
Added in version 7.3.1: It’s now possible to save values to a multi-selection field. To do this, use the following format for the value: value1,value2,value3 or value1;value2;value3. This will set the field to all three values.
Note
Using EMAILADDRESS avoids having to parse around the Real Name (e.g. “Max Musterman” <mmuster@example.com>) and directly address the email address. It also avoids the localpart being overriden and matches the localpart exclusively. Otherwise your regular expression must perform this part properly.
Filtering for a PostMaster Filter#
Use the filter bar in the left panel to quickly locate a filter by typing its name.
Results will automatically update as you type.
Managing Existing Filters#
Viewing Filters: - The main table lists all created filters. - Clicking on a filter name allows you to edit its settings.
Deleting Filters: - Click the trash bin icon next to a filter to remove it. - A confirmation prompt may appear before deletion.
Important
The filter entity has no valid type. To invalidate a filter, choose an invalid key or filter when editing it, so that it will not match.

Example Use Case: Ignoring Automated Emails#
ignoring automated emails that do not require a ticket. For example, a filter named “Ignore Mails from Tracking Service”:
Search header field: From:
Value: tracker@example.com
Set email header: X-OTRS-Ignore
Value: yes
These mails will be logged to the communication log, but not create a ticket and be deleted immediately.
Best Practices#
Keep filter names numbered (000-ignore junk) for easy identification and correct firing order.
Regularly review filters to ensure they are still relevant.
Use specific conditions to avoid filtering important emails by mistake.
Additional Information#
For a list of all available headers see E-Mail Headers.